

Single Sign-on
Available configurations
Microsoft Azure AD
To enable login with your Microsoft account, it is necessary to create an Enterprise Application (SAML based Sign-on) from the Microsoft admin center.
SoluCX technical support must provide the following information for the creation of the Enterprise Application:
- Identifier (Entity ID)
- Reply URL
See details in the Microsoft article - Application management documentation
Step by step for configuration
Prerequisites
- Administrative access to Microsoft Entra ID (Azure AD)
- Reply URL (ACS) and Entity ID URLs provided by Solucx
1 - Access Microsoft Entra ID
- Log in to the Azure portal with an administrator user
- Access Microsoft Entra ID
2 - Create a new Enterprise Application
- In the side menu, click on Enterprise applications
- Click on + New application
- Select Create your own application
- Enter a name (e.g., Solucx SSO)
- Choose the option Integrate any other application you don’t find in the gallery
3 Configure the Single Sign-On method
- In the side menu of the created application, click Single sign-on
- Select the SAML method
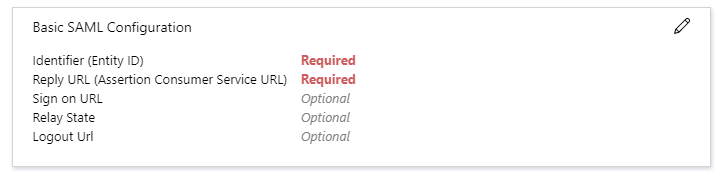
4 - Configure Basic SAML In the Basic SAML Configuration section, click Edit and enter:
- Identifier (Entity ID) → Value provided by Solucx
- Reply URL (Reply URL / ACS URL) → Value provided by Solucx
Save the changes.
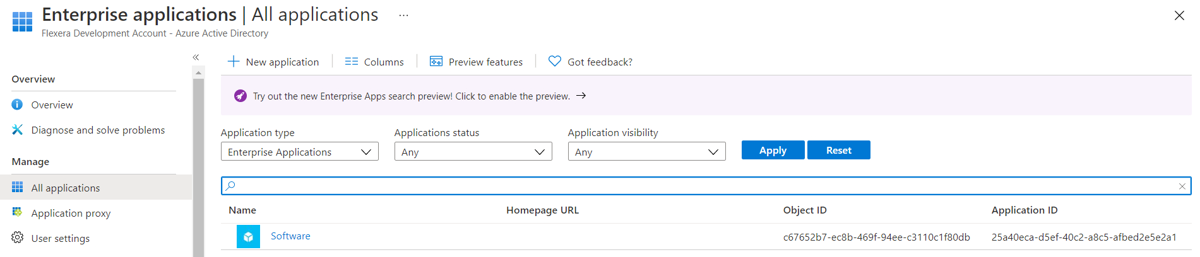
5 - After configuring the Enterprise Application, provide SoluCX with the following information:
- Application ID - which can be retrieved from the list of all applications
- Federation Metadata XML

After providing the above data, Technical Support will request a test for the new login method.
Google custom SAML
To enable login with your Google account, you need to create a custom SAML app from the Google Admin Console.
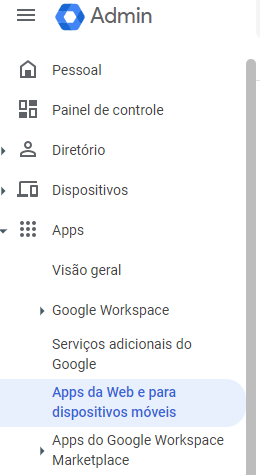
1 - Access Google Admin Console at https://admin.google.com
2 - In the side menu, go to Apps -> Web and mobile apps
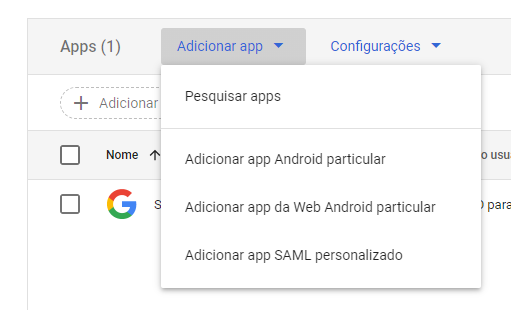
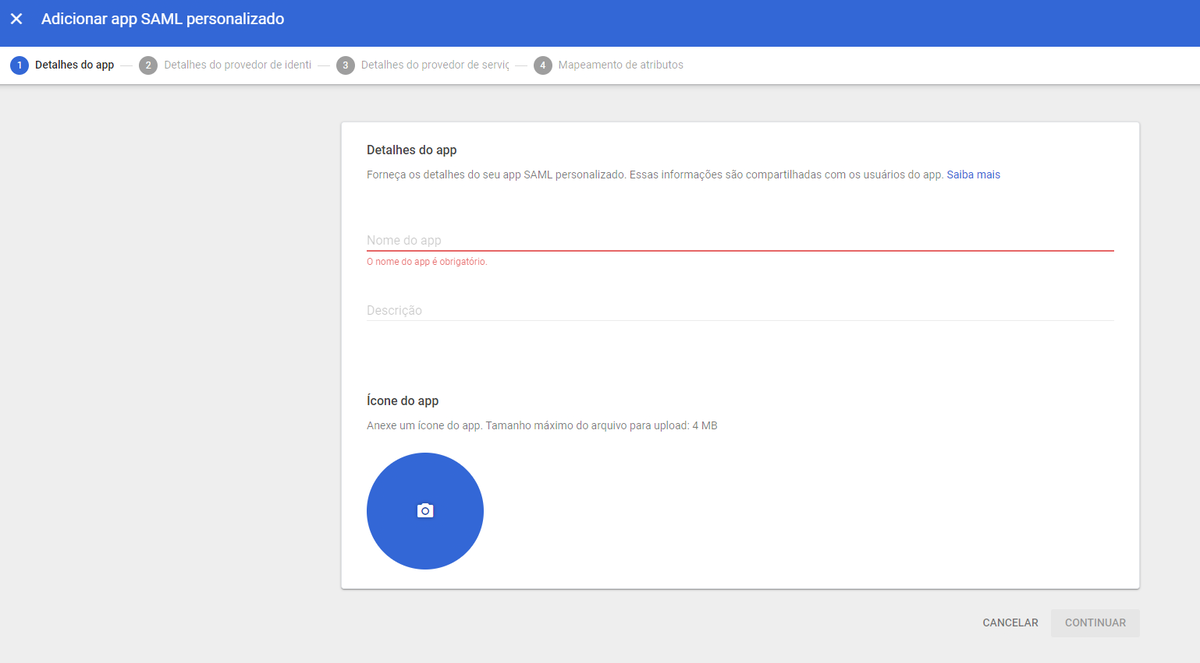
3 - Click Add app -> Add custom SAML app
4 - On the App Details screen, you will need to enter a name, then proceed by clicking Continue
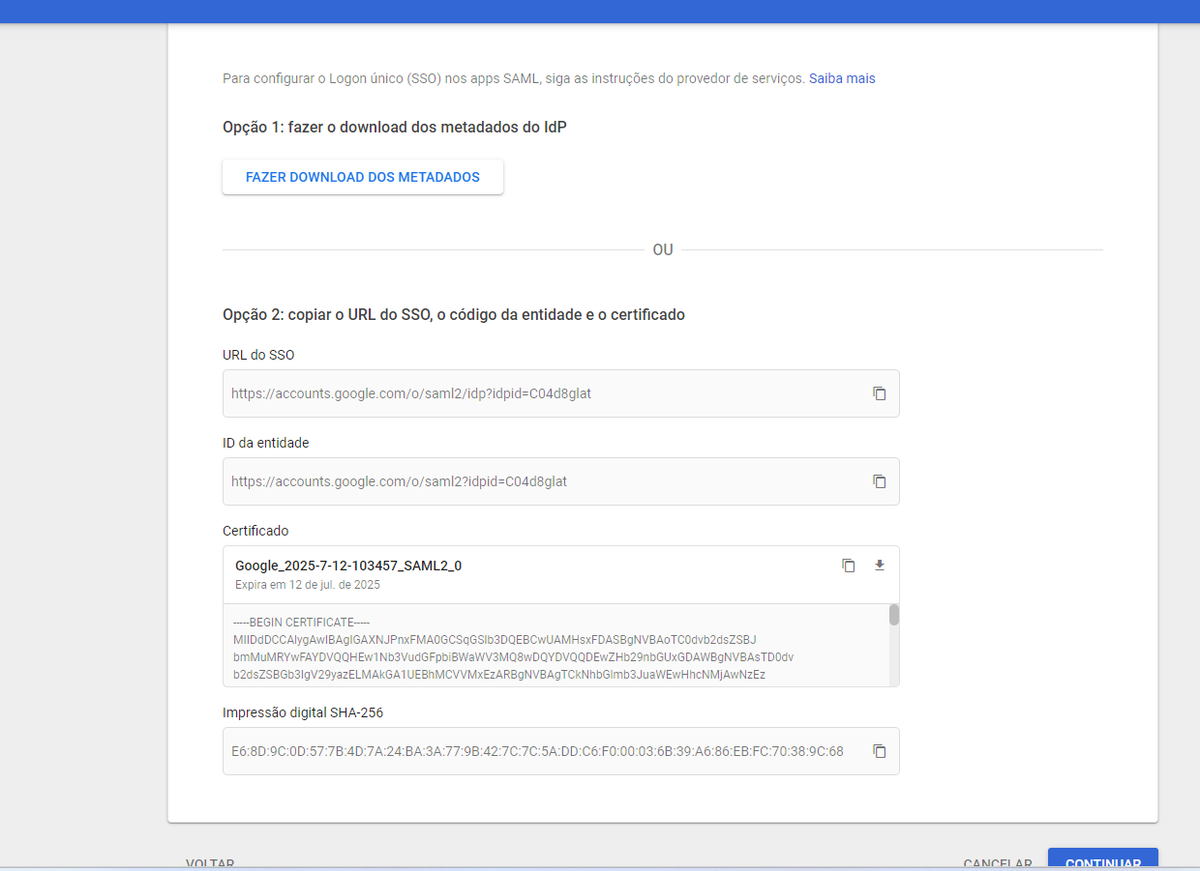
On the next screen, you will be in Identity Provider Details
5 - At this stage, use Option 1, click "Download Metadata", the saved file should be shared with SoluCX so we can complete the configurations on the Service Provider
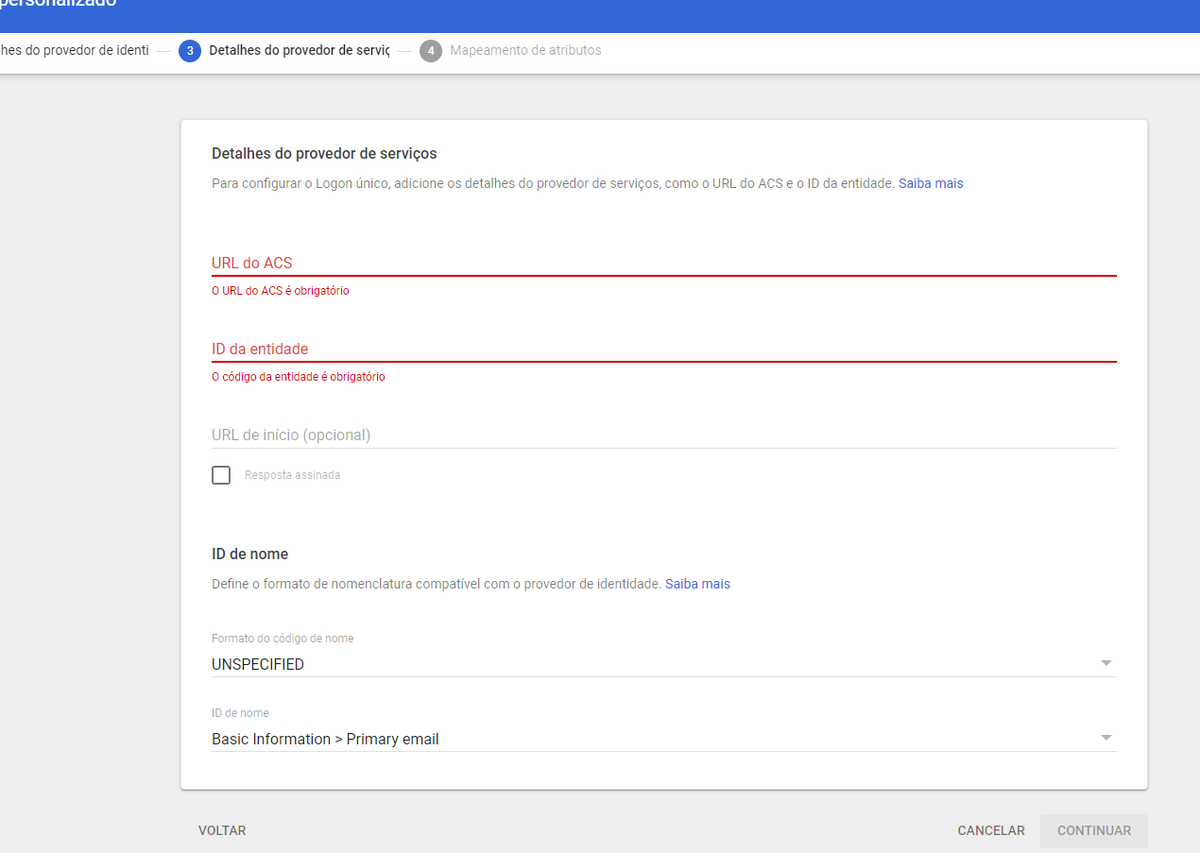
After downloading the Metadata, the next screen refers to Service Provider Details
6 - SoluCX technical support must provide the following information to complete this step:
- ACS URL
- Entity ID
The Name ID format option should be UNSPECIFIED and in Name ID the value will be Basic Information > Primary email
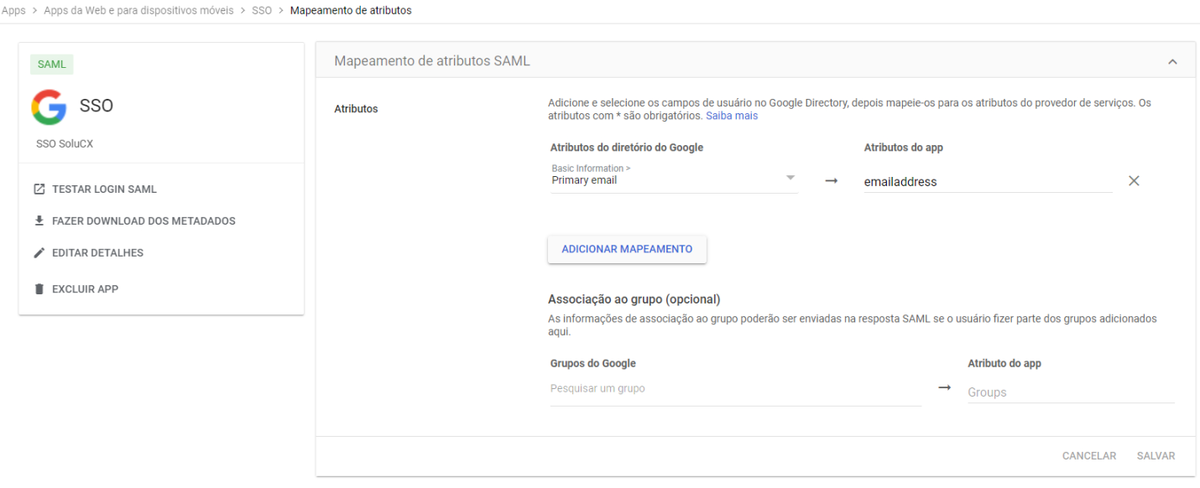
7 - After the previous definitions, in the next step define the Attribute Mapping
In SAML Attribute Mapping, set Google Directory Attributes:
- Basic Information as Primary email
- App Attributes as emailaddress
8 - Save to complete the creation of the custom SAML App
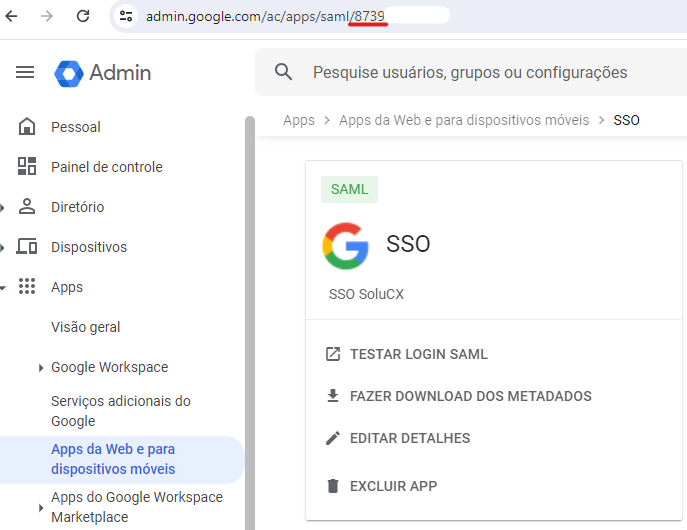
9 - An important piece of information for SoluCX is the Application ID, which is Google's identification for this created app.
It can be retrieved from the URL itself after clicking on the created app.
Consider the numeric parameter displayed in the URL
Remember, for SoluCX to complete the configuration, you need to provide at the end:
- Metadata (downloaded in step 5)
- Application ID (step 9)
After providing the above data, Technical Support will request a test for the new login method